Wednesday, June 29, 2016

Trying Stained Glass


My piece against the light
I was at an awesome event on the May 24th weekend this year called Fruits of Our Labour (fondly known as FOOL) and got the opportunity to try out making stained glass. One of the best parts about the SCA is there are often classes for anything you may be interested in and often at just the cost of materials. 

A wonderfully sweet and engaging woman named Sciath Ingen Chaennaig (We referred to her as Sciath- pronounced Sky-ah) taught the class and I learned a ton. We got to pick out our patterns on paper from a wide variety of choices and price points and then dove right in after a safety talk. The talk was mainly common sense. There are poisonous things as part of the process, don't lick them. We will be melting lead, it will be hot. 
My piece against white so you can see the colours
Each person had three copies of the pattern one for reference, one to cut into the individual pieces so that the glass could be cut and one to place the wet pieces of glass on to make them fit together.

Firstly I learned stained glass takes a long long time. I estimated I spent about 10 hours on this piece (with generous help from others pitching in so I'd finish in time). You have to cut out the glass on all straight lines and chip away on the convex edges and grind down on the concave edges. Grinding takes forever and is quite messy. I was particularly glad of my glasses and I still ended up with little glass bits all in my clothes, and hair. 

Next was this neat copper sticker material which needed to be folded and smoothed onto all the edges of the glass pieces. This was actually quite soothing, and it was here you could start to really see what the final piece would look like.

Then came the flux which is this poisonous sticky liquid that all the edges of the glass needed to be coated in so that the lead would stick to the glass.

The soldering step was my favourite part. I enjoyed watching the lead melt and smooth and connect the glass together. The patina at the end to make the lead black was neat too (and also toxic).

The pieces although cut out from the pattern were surprisingly difficult to fit together, which you wouldn't think as they were cut directly from the pattern, but the slightest bit off really made a difference. 

Over all I was much more appreciative of professional and hobbyist stained glass makers at the end of the class. I don't think stained glass is the hobby for me but I do love my finished product and picking out the glass from all the amazing options was so fun- I can easily see how people could love to do this.

A picture of me very tired but happy and my new piece

What do you think? Have you tried stained glass?

Saturday, June 25, 2016

1530's Inspired Peryton Embroidery, Part Two

Progress Photo four: There is a head!
This is a continuation of my post here: Part One.

I did decide to take out the black snout marking as I couldn't figure out how to make the animal look natural if I included it.

Finished! 
In total I finished this embroidery on the 24th of June, (with many breaks where I would forget about it for some time) and officially started stitching March 5th (London Ontario's Winter War for the SCA). Not too bad time-wise for me.

For the project I used brushed cotton twill for the main fabric, cotton embroidery thread, rayon thread for the gold and polyester metallic for the silver. For the main body I used Split stitch to imitate fur, very small chain stitch for the wings to look like feathers and some satin stitch, for example on the hooves, antlers, ear, and crown.

Around this little guy will be knot-work that won't be from the same period but will be close enough that I'm making it work as the Tudor period did have knot work for decoration.

Hope you enjoyed!


Saturday, June 18, 2016

1530's Inspired Embroidery, Linlithgow Peryton


Linlithgow Fountain Peryton
 (From Pinterest)
This project was inspired by the photo above, a Peryton that is part of the Linlithgow Palace King's Fountain in Scotland.

This was inspiring first because it's a mythical critter- of which I have fondness for in all their shapes and species. A Peryton is a mythological winged deer, and I believe it's supposed to eat people. Honestly ignoring the meat-eater part I just loved the look of it. It looks soft and noble with the crown and in an alternative view of the image you can see a shield.

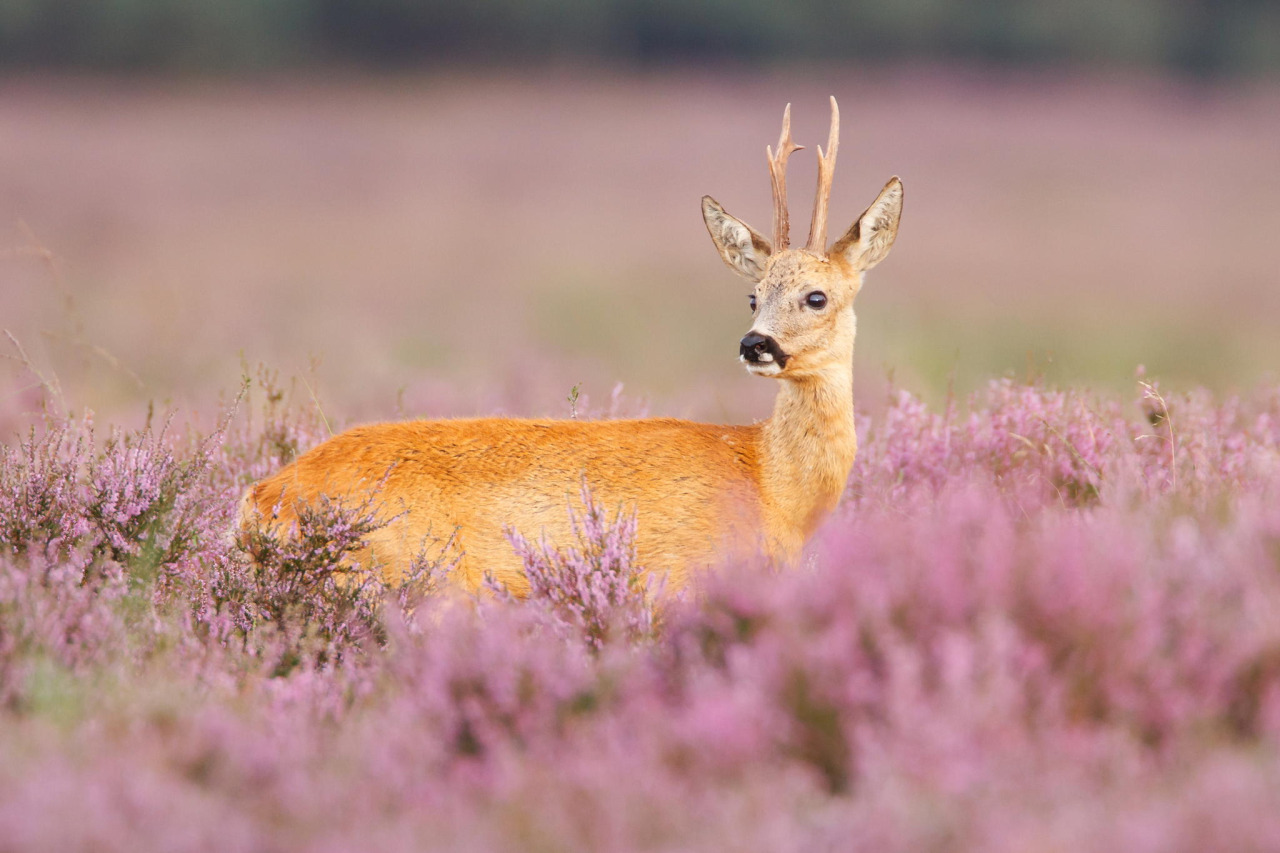
Secondly the deer species that this Peryton is based on is a Scottish Roe Deer. These are a small species of deer that look adorable and have odd moustache-like markings on their snout. Basically adorable.
Roe Stag in Heather
Source
Thirdly this fountain was commissioned by Mary Queen of Scots' father King James V. This is my preferred time period and country for my SCA persona. Approximately 1530s around the Hebrides and Highlands of Scotland. So this to me was proof enough that they used this type of decoration during the time period.

I started this project in March, and picking it up occasionally to work on. Here are some pictures of progress as I've continued it.
Progress photo one
Progress Photo two
Progress Photo three
I plan to have a knot work border around the Peryton and then the whole thing will hopefully go onto a belt pouch. I'll make another post with more progress photos when I finish the Peryton and likely another when I finish the knot work border.

You can now see the finished Peryton and another progress shot here in Part Two.

Friday, June 10, 2016

About This Blog

Once Upon a Sprite is a blog dedicated to the arts, crafts, hobbies and activities I get up to. Mainly I'll be focusing on my arts and crafts projects- especially those associated with the SCA (Society for Creative Anachronism- a Historical re-enactment group I'm part of) but many things could show up. I tend to jump around in interests and I love to take classes in different things so unexpected posts could show up.

Lately I've taken an interest in Natural Dyeing (note the 'e' there I mean colouring cloth not death) and what plants can give dyes. I also sew, embroider, finger-weave, do polymer clay and other random hobbies. Hopefully some will be of interest to you! Please leave a comment if you enjoy my ramblings!